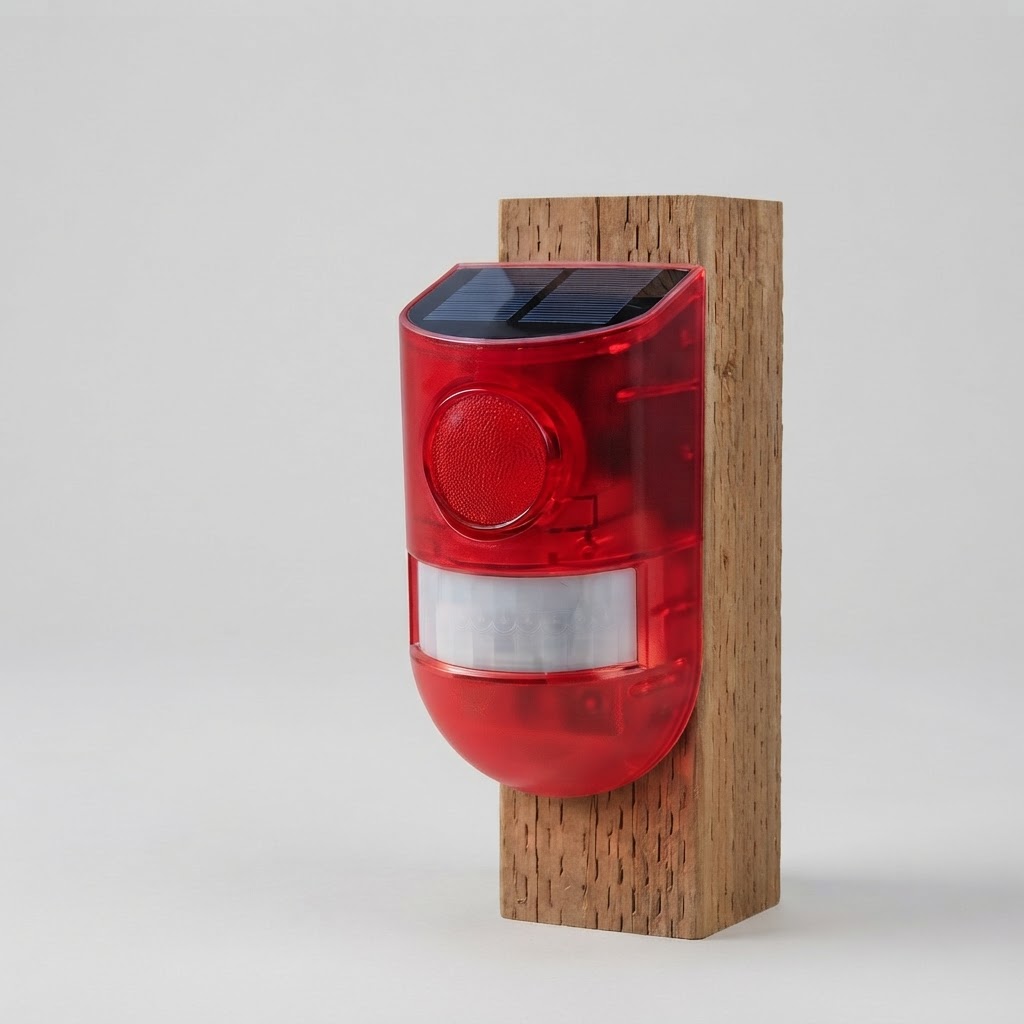
How to Install a Solar Motion Alarm to Protect Your Backyard Garden
Installing an outdoor solar motion sensor alarm is a simple, effective way to stop pests from invading your yard, chicken coop, or farm perimeter. Read [the main guide] to understand how perimeter defense fits into overall garden protection.
Step 1: Initial Charge and Unboxing
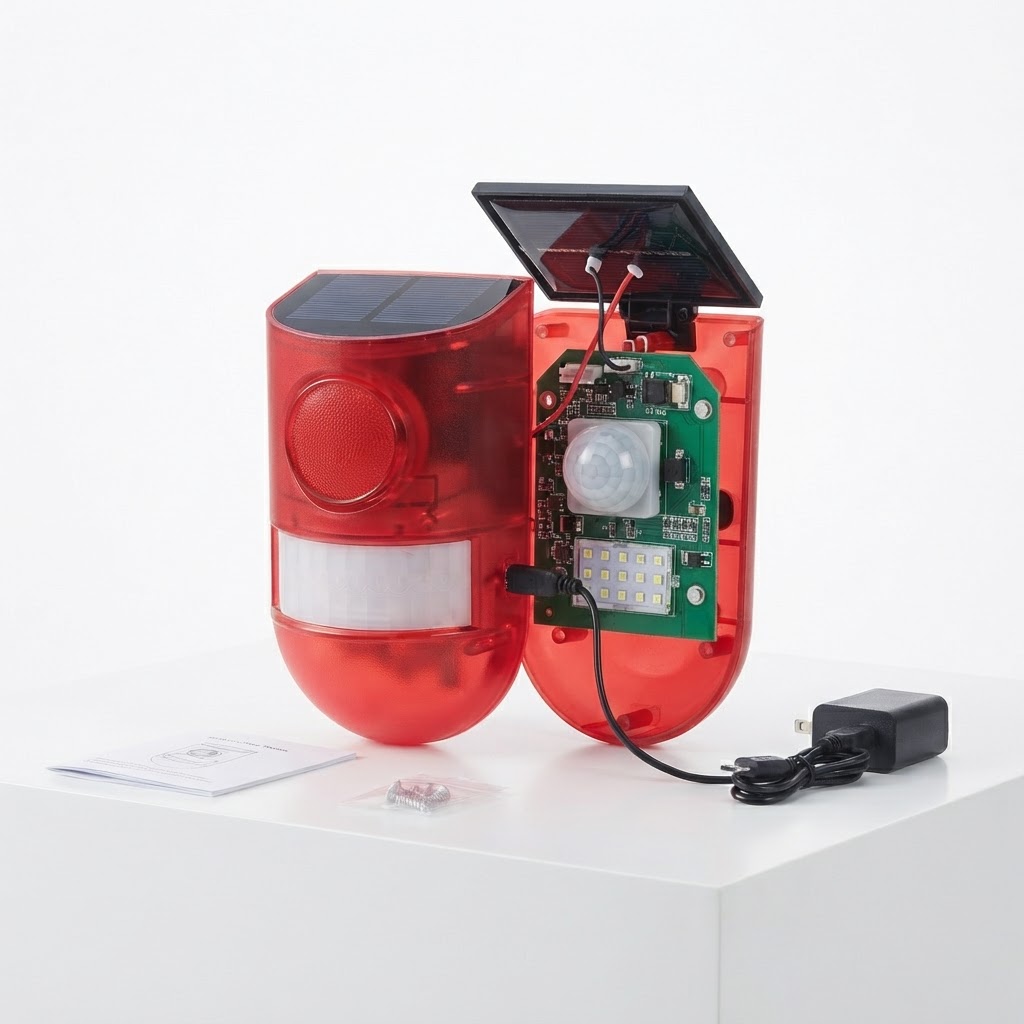
Before mounting your device outdoors, ensure the internal battery is fully charged. For the first use, place the top solar panel under direct sunlight for 4 to 6 hours. Alternatively, if the device was stored or transported for an extended period, use the included USB cord to perform a complete DC charge.
Step 2: Select Strategic Mounting Locations
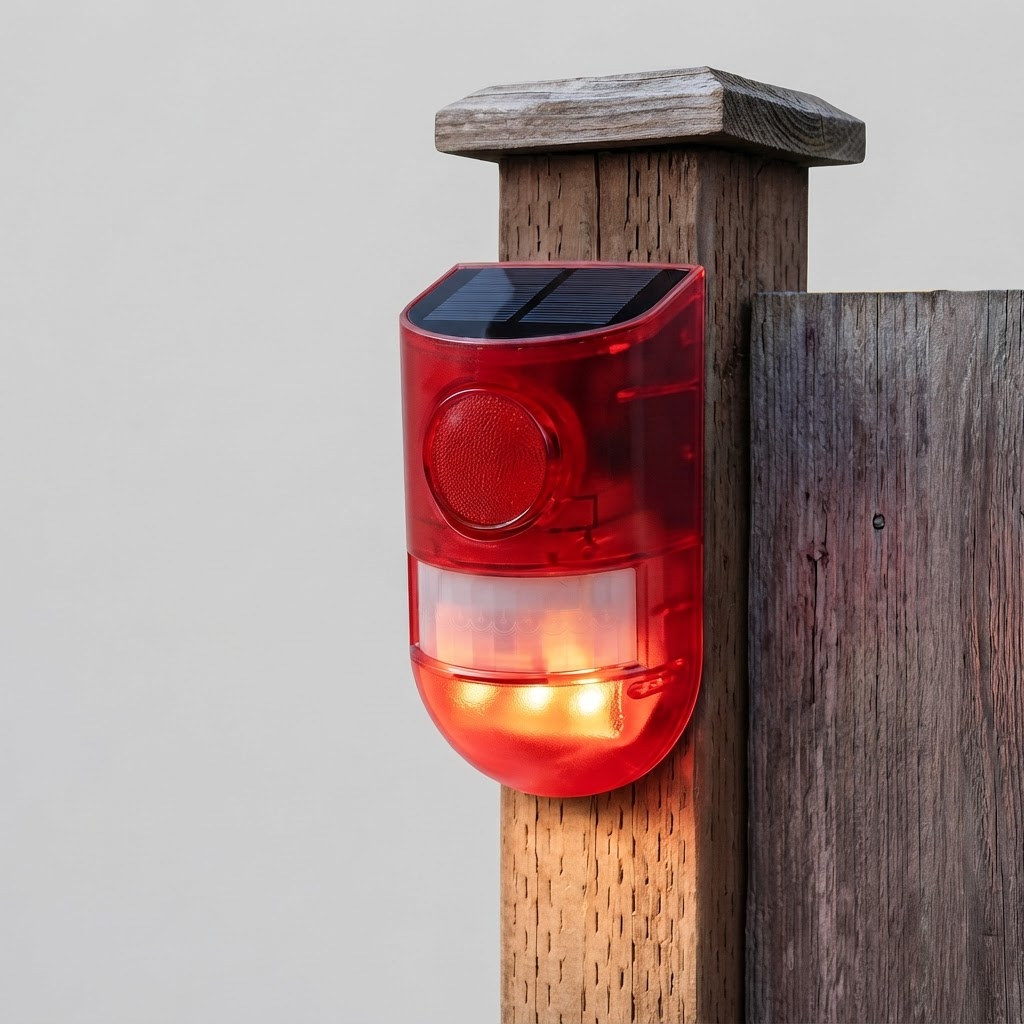
Identify primary pathways where animals enter your property, such as fence gaps, near livestock yards, around bee hives, or along garden borders. Position the device so its motion sensor faces outward across the target zone, ensuring an unobstructed 125-degree sensing arc covering a distance of 5 to 8 meters (up to 26 feet).
Step 3: Mount at the Correct Target Height
Hang the unit onto a post, fence, tree, or exterior wall using appropriate hardware. Adjust the installation height between 1 to 8 feet depending on your primary target animal:
- 1 to 3 Feet: Ideal for smaller wildlife like raccoons and stray dogs.
- 4 to 8 Feet: Ideal for larger threats like deer, coyotes, or human trespassers.
Step 4: Select the Desired Working Mode
Press the power button to activate the unit and select from four operational settings:
- Mode 1: 24-hour siren and flashing lights.
- Mode 2: 24-hour flashing lights only.
- Mode 3: Nighttime siren and flashing lights.
- Mode 4: Nighttime flashing lights only.
Read the full guide: How to Keep Raccoons Out of Garden Spaces: The Complete Defense Guide